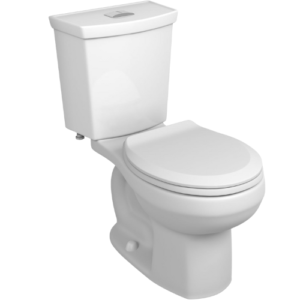
Learning how to install a toilet is not difficult. You don’t need any special tools beyond what you probably already own. This is a single person job that takes under an hour to finish. Take a look below for a list of tools, and the complete steps to successfully install a new toilet.
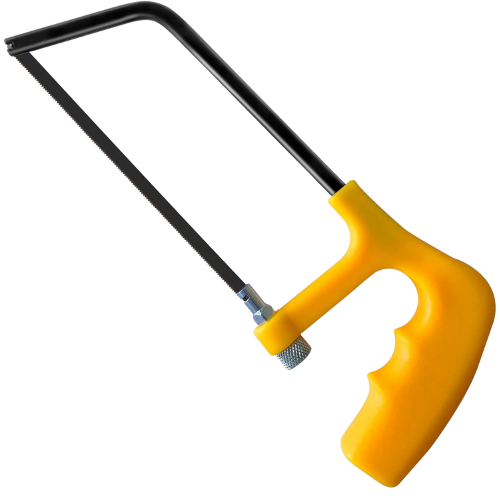
Some toilet installs do not require all the tools below. This is dependent on what toilet installation kit you are using. Some kits require a hacksaw to cut the bolts that secure the bowl to the flange. Jump to the Secure the Toilet section below to see if you need a hacksaw.
You may also need to replace the supply line (the water line that connects the toilet to the water valve on the wall. If your supply line is deteriorating a great deal you may want to buy a new one for this installation. You want it to be the same length as the one you have now. Measure the size of the connection attached to the valve on the wall, and talk to the people at the hardware store for help finding the exact one. Most times the existing one is fine to use again.
We both know the best accessory for a toilet is a bathroom exhaust fan. If you are in the market for a bathroom fan i recommend visiting the article on The Best Bathroom Exhaust Fan will walk you through the steps on picking the right fan for your bathroom.
The steps listed below will guide you through the process of removing the old toilet and installing the new one. I have a video for you to check out if that’s an easier way for you to learn how to do this type of project. The video has the same steps outlined in this article. Click on the video above for that tutorial.
The most important thing to remember during this process is to not overtighten any of the bolts during this project. You will be working with porcelain which is susceptible to cracking if too much pressure is put on it. The amount of tightening should be up to where the bowl, tank, or seat does not wobble. Once you get to this point you can stop tightening.
Shut Off The Water Supply To The Toilet
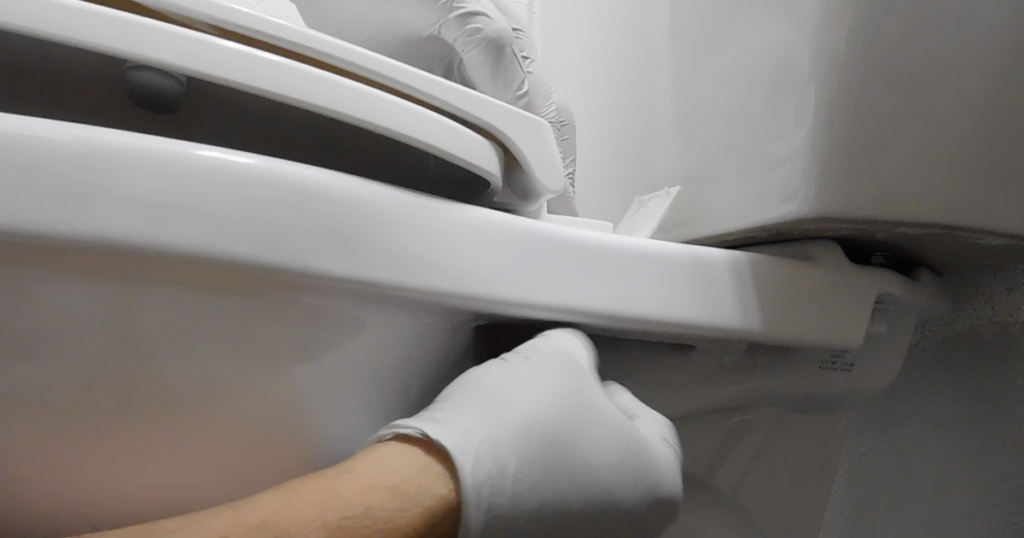
I like to start this job by putting on rubber gloves. It makes me feel more comfortable when working with a used toilet to start by wearing gloves. Make sure you have extras handy and they are the right size because they may break during the process of this job.
The water supply line is a water valve that sticks out of the wall near the ground. It’s usually somewhere behind the toilet to the left of it. Turn the valve to the right until you can’t turn it any more. You will need to get on your knees to find it.
Remove Old Toilet
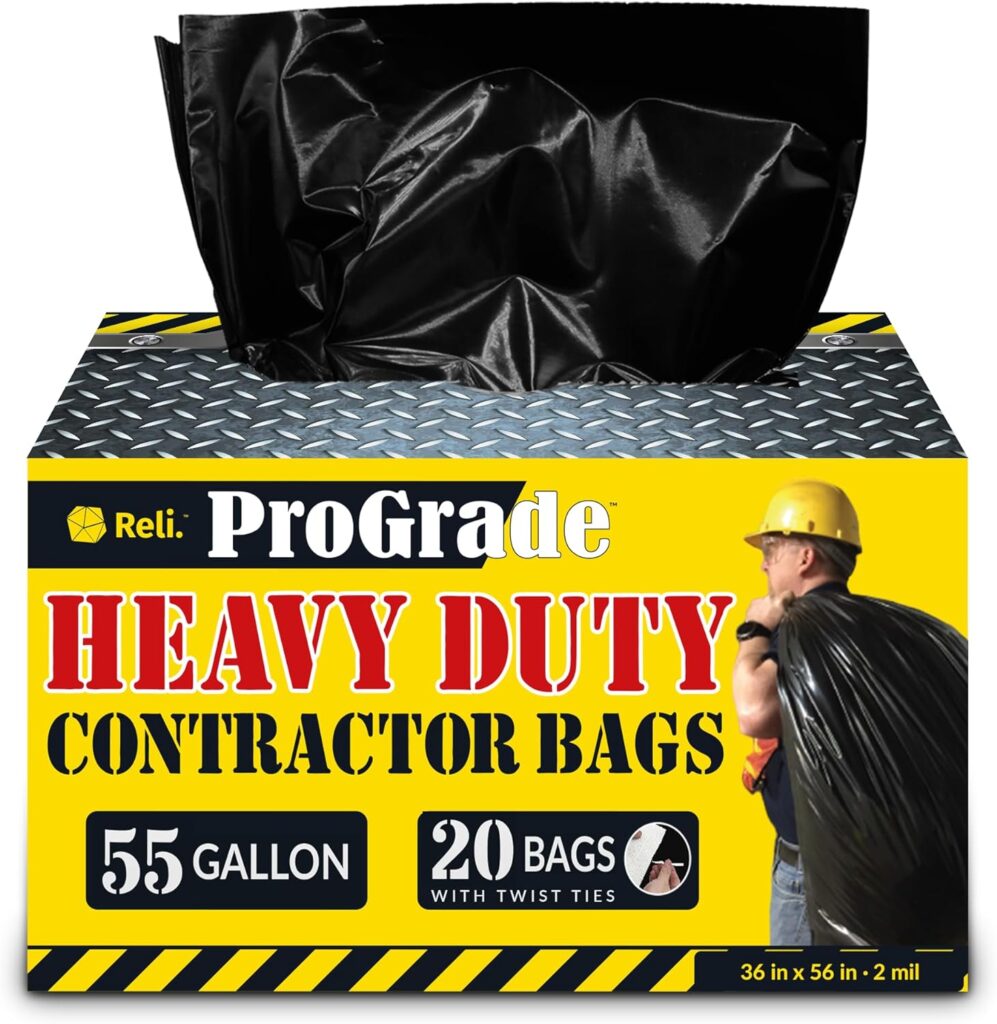
Removal of the old toilet happens in a series of steps. With the water shut off you can flush the toilet to remove the water from the tank. There will still be some water in the bowl that can spill out when carrying it. This is why we use the garbage bag.
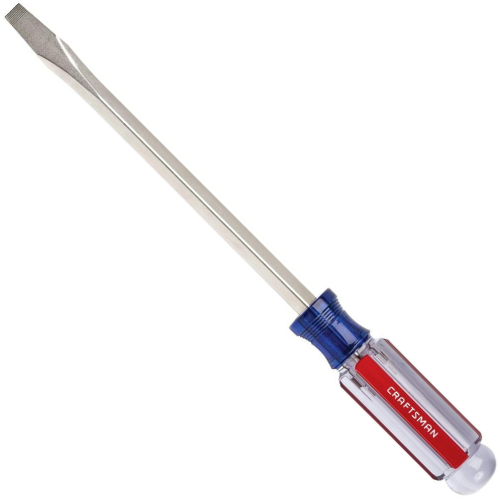
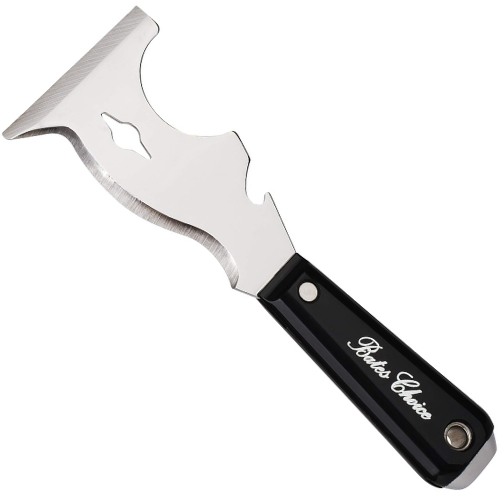
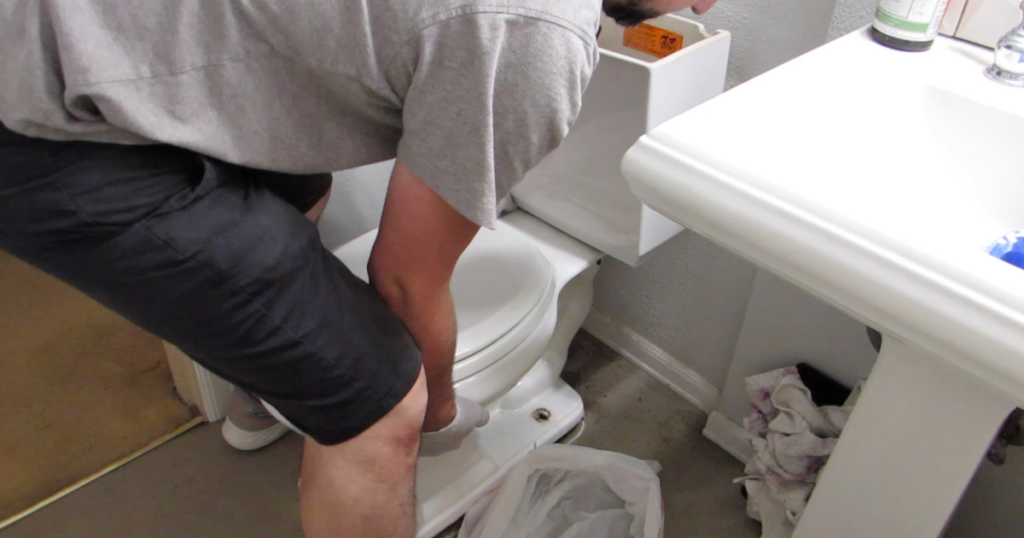
Loosen the bolts at the base of the toilet. There is one bolt sticking up on either side of the bowl near the floor. Oftentimes there is a smooth cap covering the bolt. You can use the putty knife or the flat screwdriver to pry the caps off.
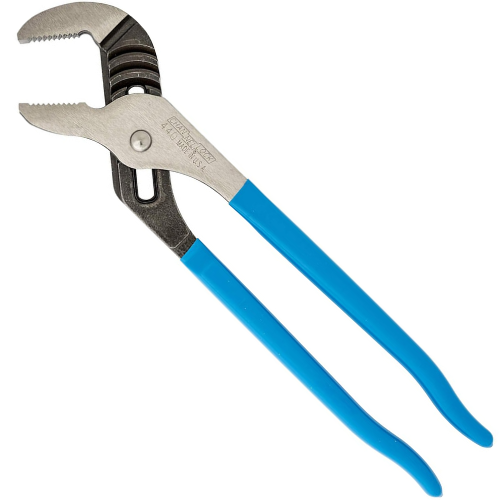
Once the caps are off use the crescent wrench or the channellock pliers to loosen and remove the nuts. Take the nuts and washers off.
Once the nuts are off, the toilet is free and loose from the floor. Open up the garbage bag and place it on the floor next to the toilet. When you lift the toilet straight up and off the bolts, place it on the garbage bag so any spills go in there and not all over the house. We use the contractor garbage bag for this because usually the kitchen garbage bags are too small to fit the toilet.
If the toilet is too heavy to lift alone, you may want to get someone else to help you lift it. If you don’t have someone to help you, remove the tank from the bowl. This can only happen if you have a two piece toilet. You may need to lay on the floor to loosen the tank from the bowl.
To remove the tank there are some plastic bolts that connect the tank to the bowl. Loosen the nuts with the channellock pliers. This can be brought directly outside when it is removed.
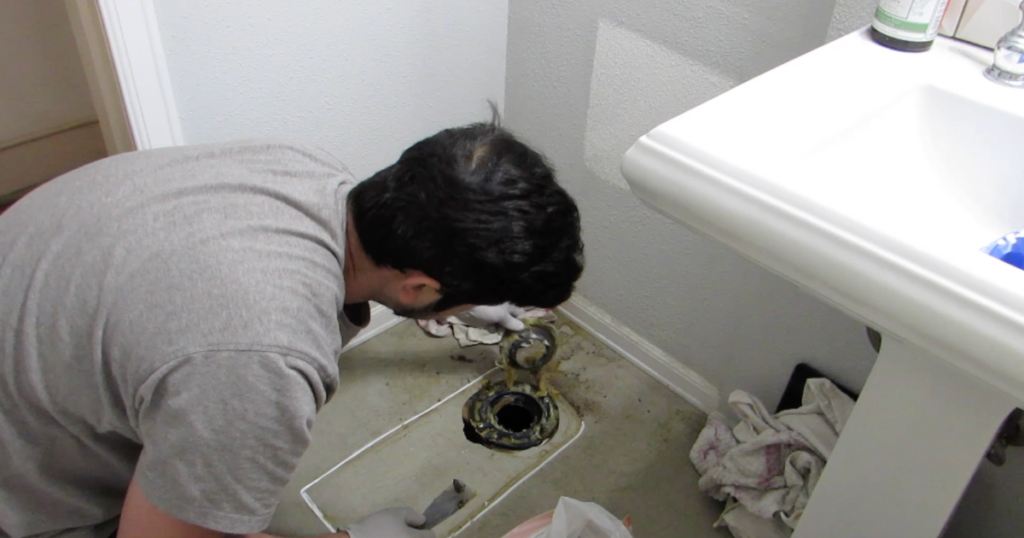
Remove the Old Wax Ring
The wax ring is used to prevent any sewer gasses from filling up the bathroom and causing a nasty smell in the house. It’s important to remove as much of the old wax ring before we can place the new one.
Use the putty knife to scrape the wax off the flange. Any pieces of wax that are removed can be put in a disposable bag. A shopping bag is the perfect size for this stage of the job.
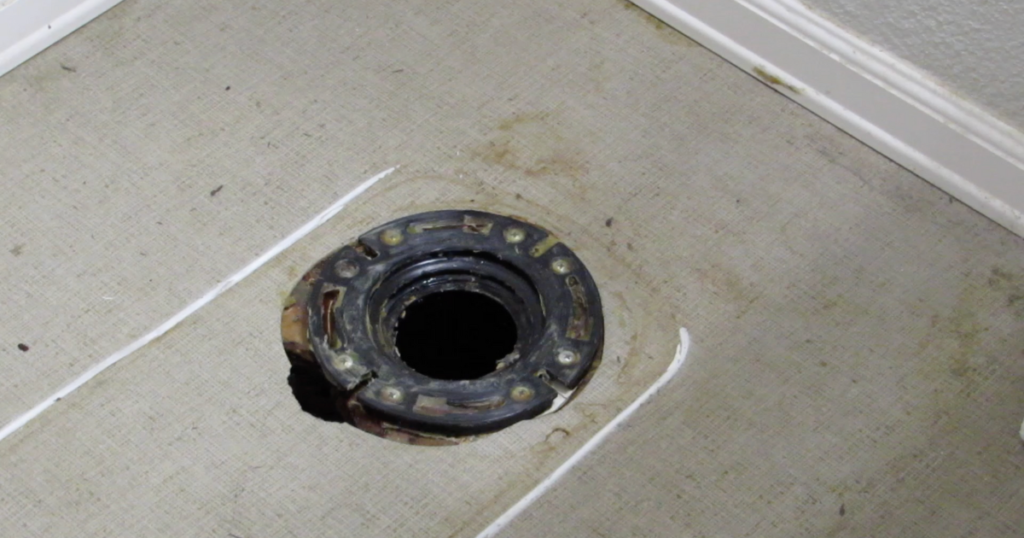
Some wax rings have a funnel shaped gasket that faces downward into the toilet flange. This gasket needs to be removed from the flange along with the majority of old wax. Not all wax rings have this part.
You won’t be able to get every last bit of wax off the flange, but do your best to scrape as much off the flange as possible. The toilet flange is the circular hole that is in the floor of the bathroom. It’s the hole that the water goes down when the toilet gets flushed.
Disclaimer: Do your best to not drop anything down the flange hole, including chunks of wax. You may want to stuff a large rag in the opening of the flange while you do this work. Make sure you remove the rag before you place the new toilet.
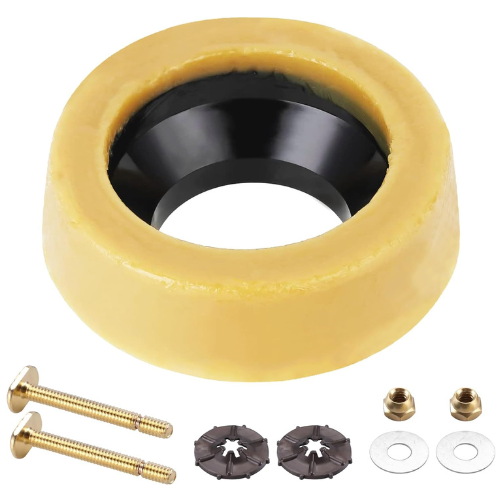
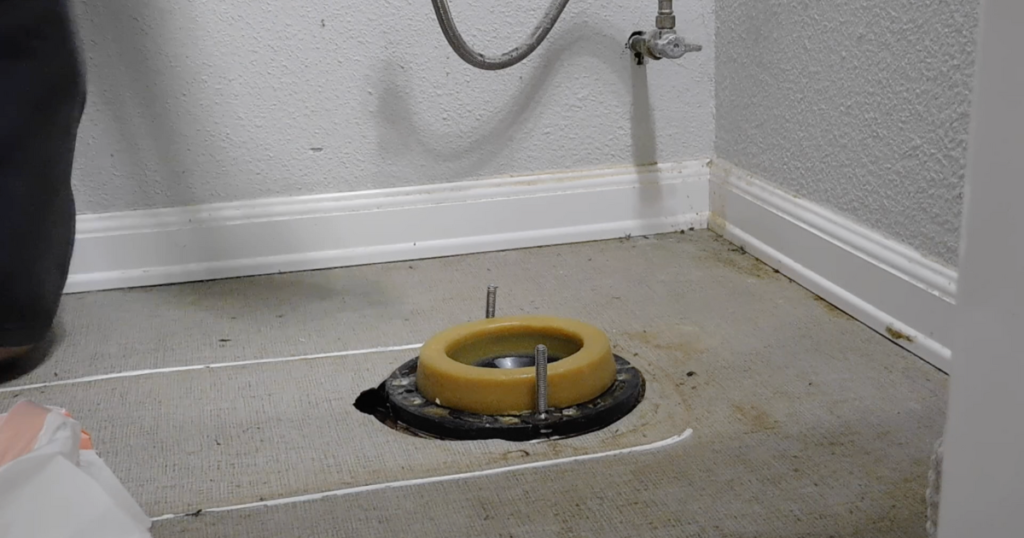
Install the New Wax Ring
After the old wax ring is fully removed you can place the new wax ring on the flange. Start by removing all packaging from the wax ring. This includes the donut shaped plastic trough it was poured into.
You should be left with only wax, and possibly the funnel shaped gasket (if this wax ring comes with one).
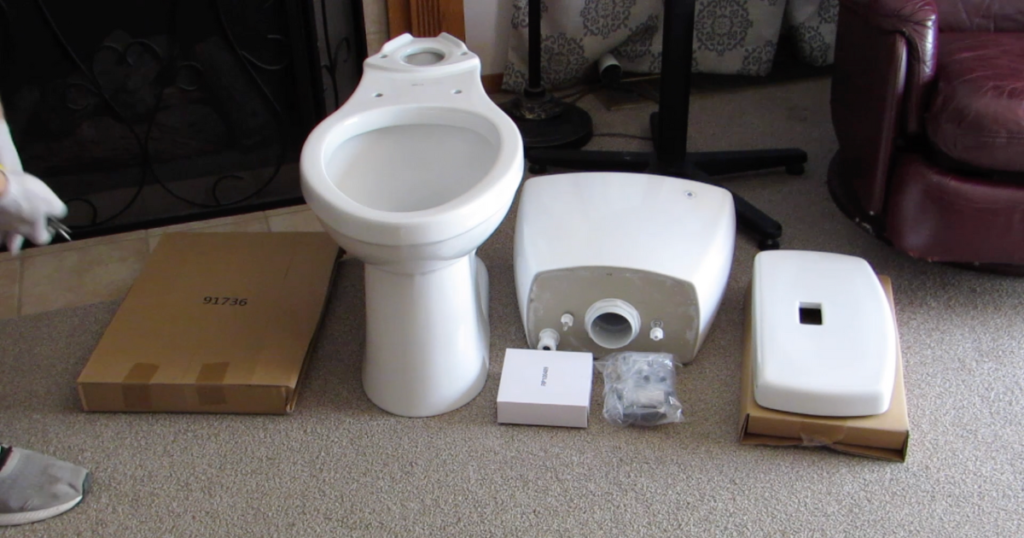
Assemble the Toilet
This can be done as you install the toilet in the next step, or the toilet can be built and then installed where it’s supposed to go. I have found it is easier to put the tank and bowl together before putting it in place. The tank and toilet are a bit more heavy when in one piece, so if this is a problem it’s possibly better for you to install the toilet in pieces or to ask a friend to help you move it.
The first step of assembling the toilet is to install the valve kit in the tank. The bottom piece of the valve should stick through the hole in the bottom of the tank. Use the large accompanying nut to secure it in place. The channel locks will tighten this nut enough. You don’t need to crank it down too hard. This nut is what will need to be removed if you ever have to change the valve in the future.
secure the rubber gasket at the base of the tank. There is a plastic piece on the hole at the base of the tank. The rubber gasket slides on the outside of the plastic piece, making a protective cushion when the tank fits onto the bowl.
After this rubber gasket is in place you can connect the tank to the bowl. There are rubber washers that fit onto the metal bolts. The rubber washer will make a watertight seal on the inside of the tank.
Place the tank on the bowl. With the washers slid up to the head of the bolts, slide them through the two holes that line up between the tank and the bowl. This should happen from inside the tank going downward to the underside of the bowl.
There are plastic nuts and plastic washers that are slid up and secured from the underside of the bowl. Tighten these equally and securely so the tank doesn’t wobble. DON’T OVER TIGHTEN THESE SCREWS!
Install the Toilet
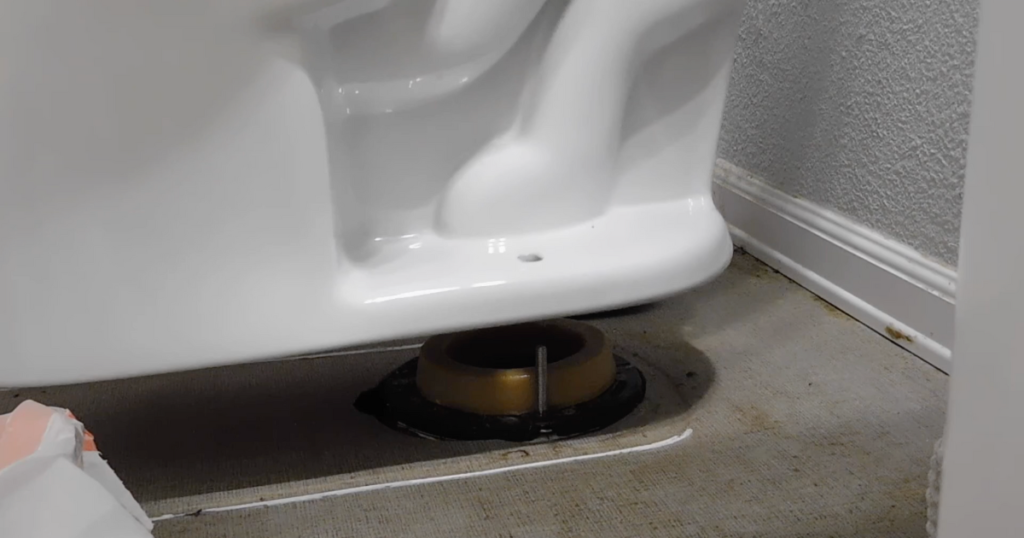
At this point you have the wax ring in place. You are ready to install the toilet over the flange. The flange has two slots, one on each side. There are two bolts that came with the wax ring that have a “T” shaped head.
Hold the bolts with the head facing down, and slide them into the two slots on either side of the flange. It’s good to have the heads facing in a parallel fashion. This will ensure they don’t slip as easily.
Some wax ring kits come with a clear washer that is designed to secure the bolts so they don’t move while you place the toilet. If your kit has this washer you can slide it down the bolts all the way. If you don’t have them that’s okay too.
With the bolts facing up in the flange you can put the toilet in place. As you lift the toilet you want to lift straight up and lower it straight down. It’s important to keep the holes lined up with the bolts, minimizing the risk that they move out of place.
It’s important to lower the toilet in the right placement, and not slide it around when it’s contacting the wax ring. The wax ring needs to encircle the hole at the base of the bowl completely. If it slips out of place this can cause sewer gasses to enter your bathroom.
Secure the Toilet
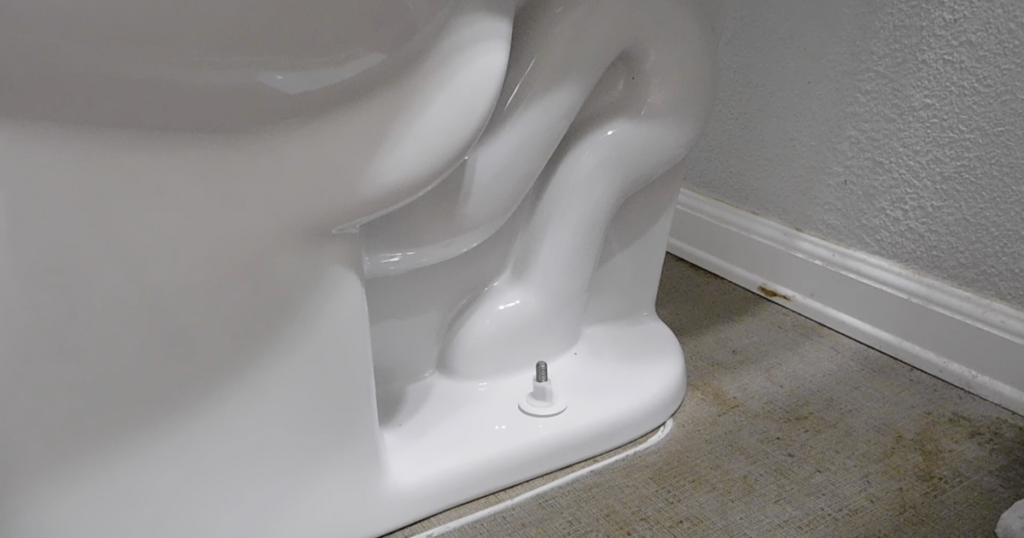
After you lower the toilet onto the wax ring, one bolt should be sticking up from each hole. Put your weight down on the bowl evenly to help the toilet seat closer to the floor. This is helping the underside of the bowl to press the wax ring, and disperse it evenly around the base of the toilet. After the toilet is seated well you can begin tightening the bolts.
There should be a washer, nut and a white cap. Usually the washer snaps into the cap when it’s installed, keeping the cap in place. Place the washer on with the correct orientation to where it can snap into the cap. This means have it flat side up, with the edges tapering inwards.
After the washers are on, you can screw the nuts down. Tighten them with the crescent wrench. Make them tight enough to keep the bowl from wobbling when you are sitting, but not much more than that. If the bolts are tightened too much it can crack the porcelain and the entire toilet will be ruined.
After the nuts are tightened, you can pop the caps on. Some bolts need to be cut before you can put the caps on. These are bolts that have collar marks at several locations on the threads. Cut at the first mark above the nuts. You can use the hacksaw for this. If you don’t have these types of bolts in your kit you will not need a hacksaw in this installation.
Attach the Water Supply Line
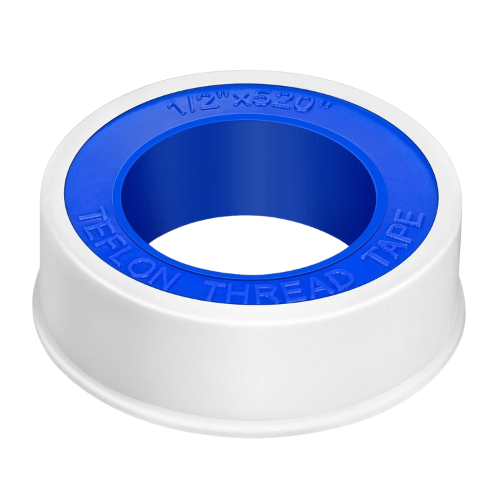
The water supply line can now be screwed on to the new toilet tank. Before you install it make sure there is a rubber washer inside the connection on the supply line. If it’s not there, and you are using the existing supply line it may still be stuck on the old toilet. Also wrap a layer of teflon tape around the threads coming out of the bottom of the tank where the supply line will be screwed on.
Hand tighten the supply line, and then tighten a little more with the channellock pliers. When it is well tightened you can turn the water back on. Turn the valve all the way so the water is flowing completely. Give the toilet a flush to make sure everything in the tank is working correctly.
Test for Leaks
Once the water is on you can check for leaks. Look at all the connection points on the toilet. You may need to dry them off with a rag because there is probably some water. Feel these spots with your bare hand to see if there are any water leaks.
If there are leaks, you may simply need to make it a bit tighter at that location. If it isn’t leaking, the toilet is almost done.
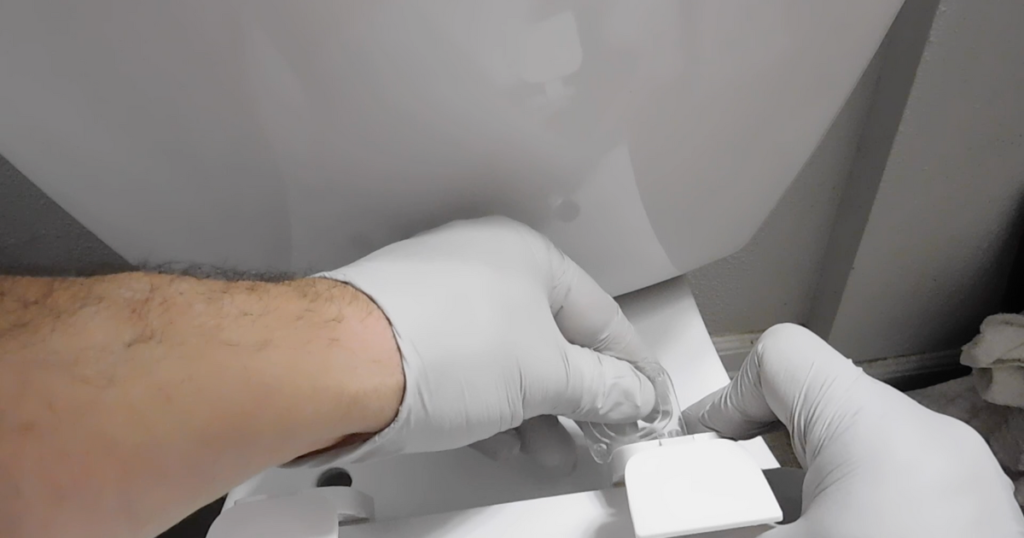
How To Install the Toilet Seat
There are two clear plastic pieces that fit around each bolt hole in the seat. Stick them on the bottom of the connection points where the seat contacts the bowl. Open the cap to put the plastic screws through.
The plastic screws slide down through the top of the connection spots on the seat. When they are both going through the seat and the bowl you can put the washer and the nut on the bolt.
It’s probably easier to stack the washer and the nut together in the orientation they are going to attach to the bolt. Tighten them down by hand until they are both completely seated on the underside of the toilet bowl.
Use the channellock pliers to hold the nut under the bowl. The flat screwdriver can tighten the bolt from the top. Tighten each bolt evenly. You also want to make sure the seat is lined up correctly as you tighten each side. If it gets out of alignment you can loosen one or both bolts enough to straighten it out.
The seat should be tight enough that it doesn’t slip when you sit on it. Check this by trying to slide it left or right lightly. If it doesn’t move it should be tight enough.
Place the Toilet Tank Lid
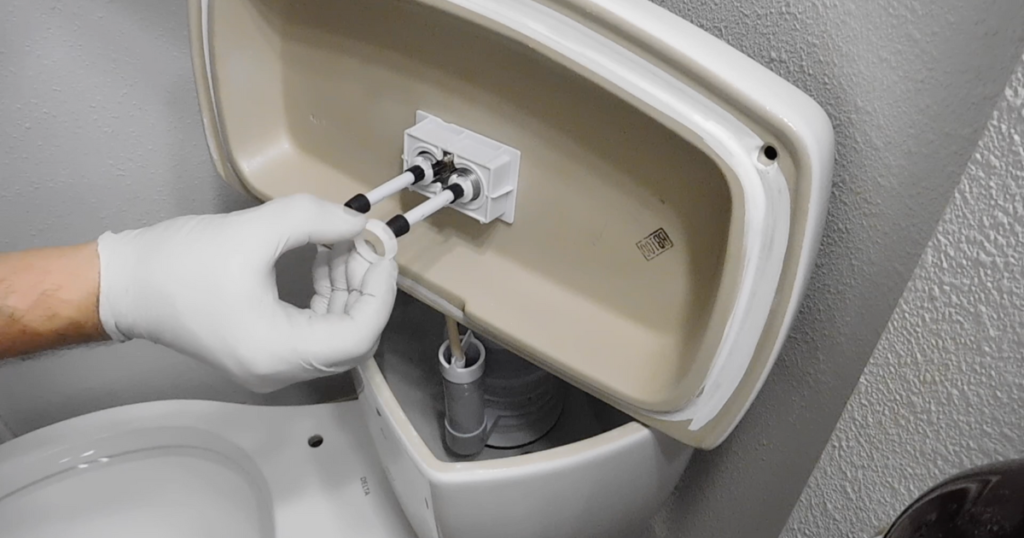
The toilet tank lid can be placed on the tank. If your toilet is one that has a flush mechanism that’s on the lid, you can install that now.
To do this put the lid on the tank, and line up the mechanism in the orientation it should be in. lift the two of them together and flip it upside down. Place the washer-like piece on first, and then the nut. Tighten this nut by hand. You probably don’t need to use any tool to tighten it more.
Frequently Asked Questions
Can I install a toilet myself?
Installing a toilet does not require any specialty tools. The tools that are required are ones the average homeowner has already. Removing the old toilet and installing a new one can be done by one person.
There are a couple of places in the process that may benefit by having another set of hands to help. There are alternative solutions that can aid in someone who is installing the toilet alone. These steps are outlined in the process listed above.
Is it difficult to install a toilet?
It is not difficult to install a toilet. There are no parts of the process that are extremely difficult to understand. However it is a detailed process that may seem confusing with what the proper order of the project is. See the above article for this process. There is also a video above that shows the process as well.
What is the labor cost to install a toilet?
The labor cost of a toilet installation by a professional is typically between $100 and $300. This does not include the price of the toilet.
If you are interested in finding a contractor that can help you with this project, get your copy of The Contractor Search Guide. It will walk you through the steps of how to find, interview and hire a contractor.
Conclusion
Installing a toilet is something the average homeowner can do themselves. It is a project that doesn’t take long, and doesn’t require any specialty tools. The process may seem overwhelming, but shouldn’t be. Just follow the above process and you will be fine. It is such a sense of accomplishment after you check this project off your list. Plus you can keep the money you would have spent on a contractor to help.