Learning how to install a light fixture in the ceiling is not very hard at all. In fact, it will save you a lot of money not having to hire an expensive handyman to do it for you. And when you are done with the install you will be able to enjoy your work each and every day. Now let’s get started in learning how to install a light fixture.
Required Tools
Steps For Installing A Light Fixture
Step 1: Switch Off The Power
This step is by far the most important. Turning off the power at the breaker will allow you to work safely, without any worry of electric shock. This is easier if you have someone else who can stand in the room and tell you when the power is off.
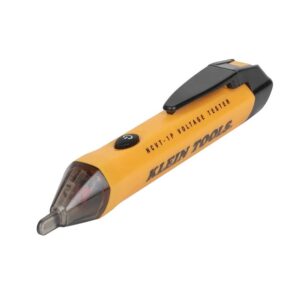
Now you can use the voltage detector to be certain the power is shut off. It’s better to be redundant than sorry, especially when working with electricity.
You also need to realize you won’t have the luxury of using the light in the room. For this reason, you may want to install the light fixture in the daytime. This will hopefully allow enough daylight through the window for you to work comfortably.
If there isn’t enough natural light in the room, you can fix this problem by plugging in a lamp in a room with power using an extension cord.
Step 2: Remove Old Lamp From Ceiling
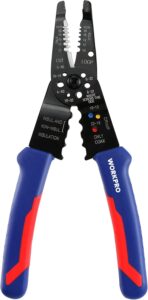
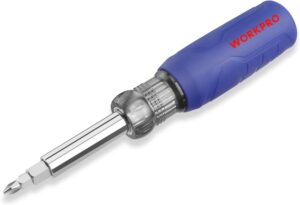
Now you can remove the old lamp from the ceiling. The main tool for this is a screwdriver, but a wire stripper with a built in wire cutter is also helpful.
Each ceiling lamp is different, but it’s not hard to figure out how to remove it. The main thing to start with is the lamp shade. Some of the common ways to remove them is a thumb screw, or they may twist off.
Once the shade is off you want to take the bulbs out and put them in a place they won’t get broken. Use the screwdriver to remove the machine screws holding it to the ceiling.
To disconnect the fixture from the ceiling, you can twist off the wire nuts and disconnect it that way. Another option is to use the wire cutter on your wire stripper to snip the wires just above the wire nuts.
Disclaimer: Do not cut the wires unless you feel comfortable stripping the ends before connecting the new fixture. You will also want to make sure there is enough length of wire coming out the ceiling before you do this option. There must be enough length in these wires for the new fixture to attach to.
Step 3: Attach The New Light Fixture
When attaching the wires, make sure you are connecting the white wire from the fixture to the white wire in the ceiling. Some ceilings may have a piece of different color wire that is not white. The white wire is neutral, and the black (or other color) wire is hot.
Connect the copper grounding wire in the fixture to the copper wire coming out of the ceiling using a wire nut. If there is no grounding wire in your ceiling, but your light fixture has a mounting bracket with a green screw in it, you can connect the wire to this screw. If that is not present you can fold the grounding wire up and stick it aside.
Hold the two black wires together and twist in a clockwise direction. Then take a wire nut that comes with your new light fixture and twist it onto these wires in the same direction. Do this step with the white wire as well.
Bonus Step: Use Electrical Tape To Secure Wires To Wire Nuts
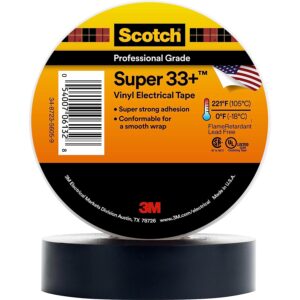
This step is not necessary, but I feel like it gives a great sense of comfort. Use a 4-6 in piece of electrical tape to secure the wire to the wire nut. It’s nice knowing the wires won’t work themselves apart when pushing the wires into the box.
Step 4: Attach Light Fixture To The Ceiling
Now it’s time to screw the light fixture base to the ceiling. It’s helpful to loosely attach the machine screws to the ceiling box. There are two screw holes where the old screws came out. If these screws are still there, and in good condition you can reuse them if you’d like.
Next, shove all the wires and the wire nuts into the ceiling light box. At the same time fit the heads of the machine screws into the two “keyhole” shaped openings on the light fixture. Twist the fixture to lock the screws in place.
Use your screwdriver to tighten these screws. They don’t need to be too tight, but they should be firm enough to seat the fixture onto the ceiling.
Step 5: Turn On The Breaker
Go ahead and turn your breaker back on at this point. You want to do this before installing the light cover. This gives you less items to remove if one of the previous steps wasn’t done correctly.
If your light fixture is not LED, now is when you would put the light bulbs in. If you turn on the light switch and it doesn’t come on, that means one or both of your wires are not installed correctly. Turn the breaker off and take the fixture back off.
If you turn on the light switch and it comes on you can put the lamp shade on according to the directions that came with your light fixture.
Conclusion
Congratulations, you successfully installed a ceiling light fixture. I’m proud of you!!
Please feel free to leave me a question or comment you might have in the comment section below. Thanks for reading the article.
-Kevin

